Saturday, May 31, 2014

Catch-up Nail Ensemble

I haven't posted my nails in awhile, but I have been taking pictures as I do them. I have decided to just post 4 different nail designs all in the same post. Here goes!


<--<< This design is super simple and all you need are different sized dotting tools. I have decided lately to create 2 accent nails and I like the way it looks. I love the striking purple colors and how well they go with the simplicity of the white detail.
 >>-->
This is another simple dotting tool idea. I got this gorgeous coral color in my Julep maven box and wanted to use it. I also purchased the studs on ebay.com which is a great place to shop and sell (I love both!). They were really cheap and stay on fairly well with a double top coat.


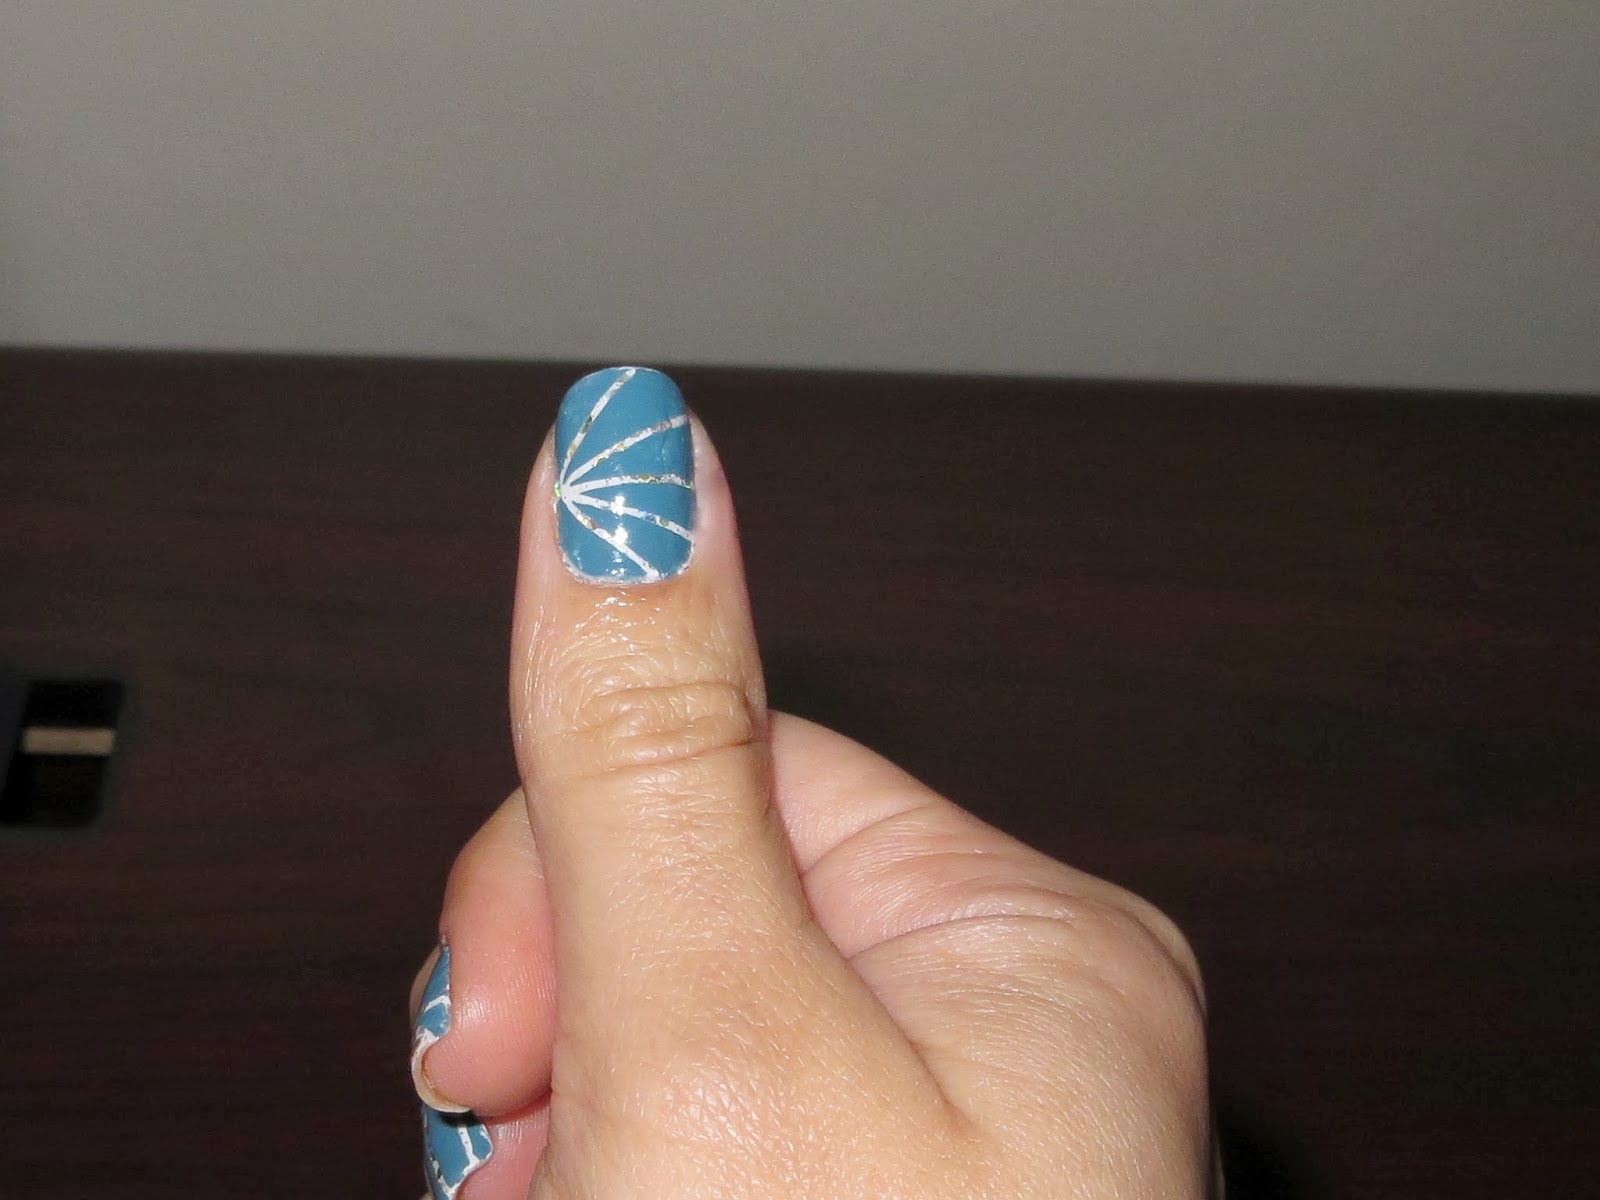
<--<< I saw a floral design similar to this one  on another blog and I just loved it. I changed up the colors to use what I had and thought would look good. I simply used dots to create the flowers and placed them randomly. For my thumb, I first painted on the light purple. Then, after it was dry I used my nail decal strips to create the lines for where the purple would show through. Then, I covered it all with the dark blue and took off the decals. It's an easy way to come out with professionally straight lines, which I have the hardest time making even with a striping brush.
>>-->
Last but not least is another take on coral nails that is great for summer. This one is much lighter with lots of white showing through. I created a grid with the nail decals much like I did with the previous nail. I also used the decals to create the lines on the predominantly white nails. For the little flowery things, I just did one dot on either side of the line and alternated colors.


Do what you love and have fun, it's great therapy!


-J

Wednesday, March 5, 2014

Nail of the Week: Hope & Misti from Julep

Whew! It's been a crazy week. I finally got my wisdom teeth out (ouch!) but I'm glad they're finally gone. The dentist told me that when you wait too long, it can be more difficult to get out, which of course it was. So my prep for the day included doing a mani to calm my nerves. I used the teal and white colors for lots of contrast.

I started with painting all nails with white (2 light coats). Then, I painted two coats of a glitter polish that has large glitter pieces in it. You can't really make out the glitter in the photos, but in person it looks really cool. After that dried all the way, I used my trusty nail decal strips to mark off the designs that I wanted. I made a sunburst, a triangle jewel, vertical stripes, one wide horizontal stripe and one "X". You can do any design that you like. The beauty of this design is that the colors themselves bring it all together even though the patterns are different.

Doing my nails is like therapy for me, it always gets me peaceful. It's nice to have an outlet for your creative loves in life, no matter what they are. Don't waste time, do what you love now! Have a great week!

Thursday, February 13, 2014

Happy Valentine's Day!


I got a new polish this month from Julep called "Love" and I wanted to find a way to incorporate it into this week's nail for V-day. I decided to pair it with a light pink and a red polish. It's hard to see in the pictures, but the Love polish has red and gold glitter in it. For the hearts, I used a medium sized dotting tool and created three dots. It's a super simple way of creating tiny hearts.
Enjoy your Valentine's Day!


Sunday, February 2, 2014

Creamy Avocado Dip Recipe

I found this delicious recipe on a website called HASfit. They have a bunch of free workout and healthy recipes to keep you on track. I made this recipe and served it with celery and chips. It is very good! The flavor is nice and you won't feel that you're missing out.

Here's the link: http://hasfit.com/healthy-recipe/snacks/greek-yogurt-dip/

And here's the recipe ( I just used my immersion blender to mix it all and it worked very well without a lot of cleanup)


6 oz non-fat plain Greek yogurt
1 medium ripe avocado
½ tsp garlic powder or 1 minced clove of garlic
¼ tsp cumin
Juice of half a lime
2 to 3 tablespoons chopped cilantro
¼ tsp pepper to taste
1 to 2 pinches of sea salt

In a food processor or a high powered blender add the avocado and blend for 10 seconds to break up the avocado. Now add the yogurt, garlic, cumin, lime juice and cilantro and blend for 30 to 45 seconds. Be sure to scrape down the sides of your blender or processor to ensure all the ingredients are getting blended. Add the salt and pepper to your desired taste and blend a little more. If you’re entertaining, spoon the dip back into the skins of the avocado and serve immediately. This dip will hold up well in the refrigerator for up to 5 days.

Nutritional facts are for 1 serving. This recipe makes 15 servings.
Calories 22.3
Total Fat 1.5 g
Saturated Fat 0.2 g
Polyunsaturated Fat 0.2 g
Monounsaturated Fat 1.0 g
Total Carbohydrate 1.5 g
Dietary Fiber 0.3 g
Sugars 0.4 g
Protein 1.3 g

Nail of the Week: Rainbow Pedi :)

This nail of the week was done because I wanted to make a colorful abstract design and wasn't sure how to do it. I chose the colors I wanted and made the pattern from lightest to darkest with a rainbow effect, blending the colors together. I used a wide nail art brush with all 3 colors at once. I used a plastic baggie as a palette and placed one stripe of each color in the order I wanted them (yellow, blue, pink). I picked up some of each color in the same stroke and brushed across my nail. I did this a few times on each nail to blend the colors into one another. I didn't want it to be too perfect, kind of abstract. I am not a big fan of feet (especially mine), but I had to share this one because I liked the results! Pick your favorite colors and give it a try :) Until next time...


Saturday, January 18, 2014

Nail of the Week: Chai Latte


This nail was named by my sister who said it looks like a chai latte, and I agree! It's a super simple look that I made with my new Julep polishes: Hope (white), Annmarie (brown) and Farrah (metallic purple). The white is a matte polish and dries faster, which always helps.

I started with the white and painted on the tips of my nails roughly where I wanted the finished product to be. On the accent nail, I painted the whole thing white. I used about 2 coats on each nail, unless it looked a little sparse in areas and then I touched it up there. After the coats had thoroughly dried, I marked off where I wanted the white part to end with decal strips. You can use Scotch tape or even notebook paper hole reinforcers. When using either of these, be sure to place it on your skin or another surface first and peel it off to take off some of the adhesive. If you don't, there's a chance it will take off some of the polish underneath when you remove it. I just used the Annmarie polish on the four nails in 2 coats up to the line I made. Be sure it's completely dry before you peel off your tape.

For the accent nail, I used the decals to make a criss-cross pattern that I've used before. I like the 3D effect it makes. I just painted 2 coats of Farrah over it and let it dry all the way. Then, I just peeled off the decals and it's done. I always use a good top coat too.

I love finding new uses for the nail decals I bought since they don't stick for too long. They were cheap and the fact that I can do projects with them makes it worth it. I am hoping to do my next project with some abstract art, but we will see!

Enjoy your artistry :)

Friday, January 10, 2014

Nail of the Week: Stripes with Glam


I took an unintentional hiatus over the holidays-- from Christmas to New Year's to visiting my new niece! Things got so busy that I didn't have time to post my nail of the week. It was a good season of family and food and I am so grateful for everyone in my life.

This week's nail is a stripe design I found on a few other blogs that I wanted to try. It's a new take on the usual stripes and adds some dimension on the top. I used all Julep polishes except for the top coat (you can find the top coat in my TWS top coat entry). I started with one coat of Reiko, which is a shimmery polish that covers well. Over that, I used two coats of Clio, which has larger glitter pieces. I left the accent nail just like that and for the other nails I made the stripes.

After the polish had completely dried, I applied decal strips with three horizontal on the bottom and 2-3 on either side of the top (depending on what fit). I did a triangular design on the top (see photos).  Over the decals, I painted 2 coats of Sylvia (the dark purple color). I covered it all with 2 top coats to seal everything in well.

You can choose whatever colors you like for this design. I have also seen it done with a striping brush and it looks nice as well. Enjoy!

Julep

Julep Beauty Inc.